Ableton Live makes it easy to use your favorite VST3 and AU plugin instruments, allowing you to craft unique sounds and textures in your productions. Whether you're using synths, samplers, Kontakt or Soundbox, here's a quick guide to get you started.
1. Enable VST3 and AU Support
Before loading plugins, make sure Ableton knows where to find them:
- Open Live Preferences (Cmd + , on Mac or Ctrl + , on Windows).
- Go to the Plugins tab.
Enable:
- Use VST3 Plug-In System Folders (for VST3 plugins)
- Use Audio Units (AU) (Mac only)
Ableton will scan and display available plugins in the browser.
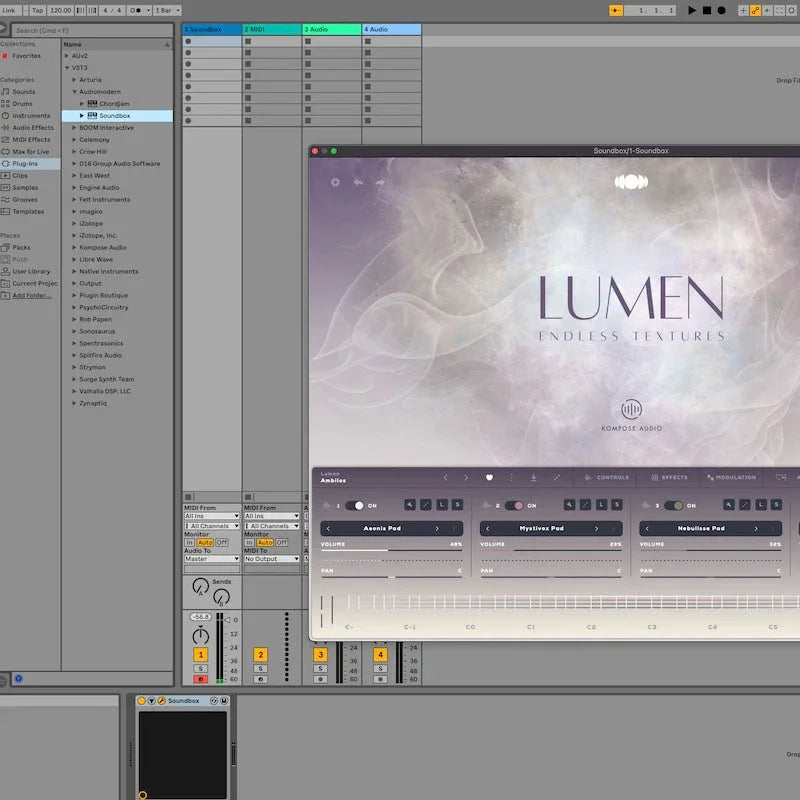
2. Locate Your Plugin in the Browser
- On the left-hand side, click the Plug-ins section.
- You’ll see folders for VST3 and Audio Units (if AU is enabled).
- Navigate to your plugin’s manufacturer folder, then select the instrument plugin you want to use.
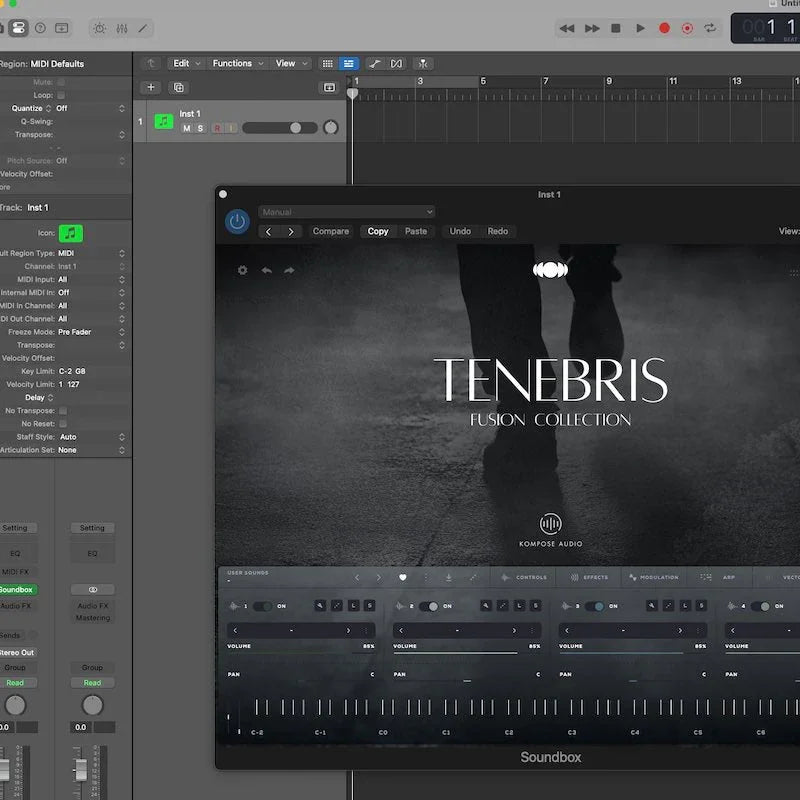
3. Load the Plugin
- Drag the plugin from the browser directly onto a MIDI track, or
- Double-click the plugin to load it into a new MIDI track.
The plugin interface will appear, ready for you to start playing or programming MIDI.
4. Play and Create
- Use your MIDI keyboard or draw notes in Ableton’s Piano Roll.
- Add effects, automate parameters, and build your track using your new instrument.
Pro Tip
If your plugin doesn’t show up:
- Make sure it's installed in the correct format (VST3 or AU).
- Rescan your plugins by clicking "Rescan" in the Plugin Preferences tab.
Leave a comment
All comments are moderated before being published.
This site is protected by hCaptcha and the hCaptcha Privacy Policy and Terms of Service apply.